The ACH Update will:
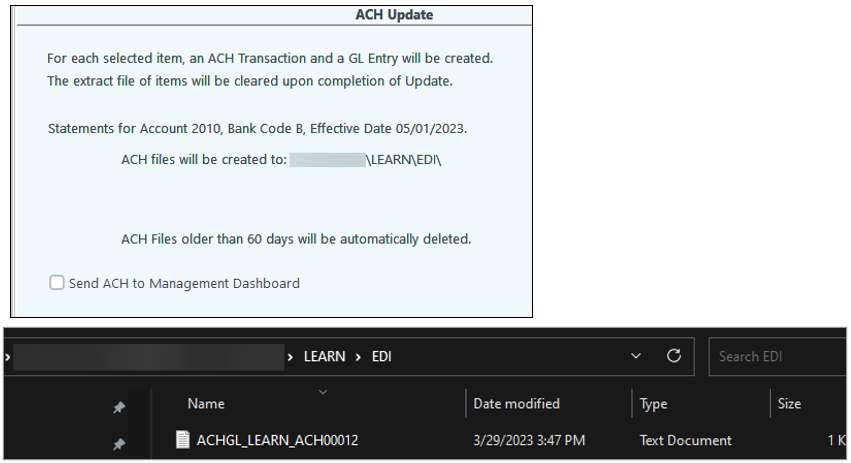
| 1. | Create the ACH file to send. On your local this file can be found in EDI\ccccc\ACHGLccccc.txt. When a file is created if there are any files in the EDI folder older than 60 days, they will be deleted. |
| 2. | Create the General Ledger entries |
| 3. | Clear the ACH extract. |
Update Step:
1.To create the ACH file and General Ledger entries, simply click on the OK button (the button will immediately disable until the process is complete).
2.The button will become "greyed-out" until the progress bar at the bottom of the screen is at 100% signifying that the process is complete.
3.The file is in a sub-directory called \EDI under your company file directory. ALL ACH files will go into this directory, not just those from GL ACH system.
NOTES:
The box "Send ACH to Management Dashboard" is an optional add-on. This will send the ACH file to the Management Dashboard ACH repository file instead of creating a physical file so they can be paid out similar to Revenue Owners.
See Folder Transfer/Compare if needing to transfer files from WPA.