Setup Checklist
These items must be setup before you can do anything else. They should be setup in this order since it makes each proceeding step easier.
•Users
•Leases
•Agreements
•Destination
•Dispatch
WebPortal
When you first log in you will be at the Homepage. For the purposes of setup, we will be working with the menu options at the top of the page.

Dispatch Tab allows user to view all loads currently entered in Web Portal, as well as, GPS locations of all Drivers on the map.
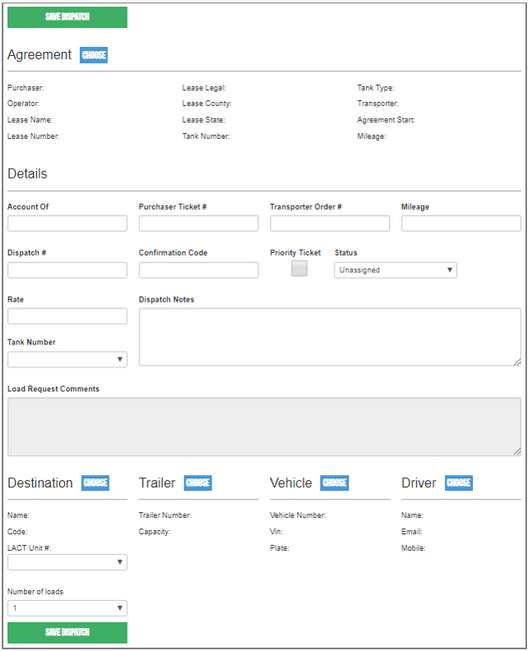
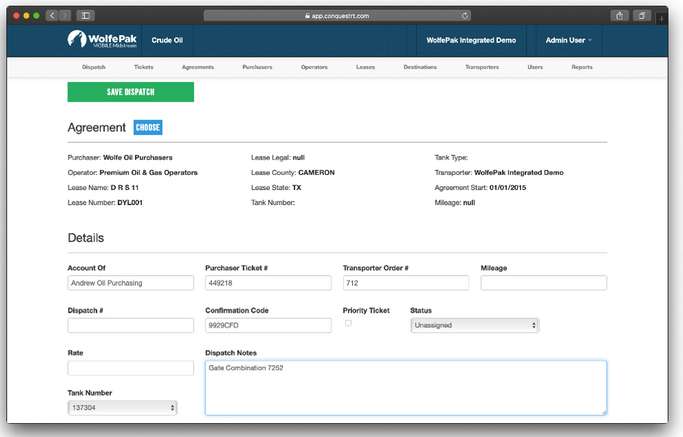
Create New Dispatch
Required Fields: Transporter (Select an Agreement to define a Transporter)
|
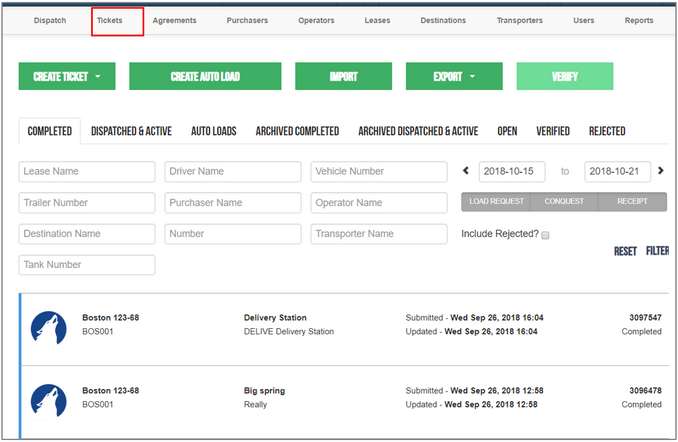
Tickets tab is a ticket data warehouse that stores all tickets ever created for that Transporter in WolfePak Mobile.
|
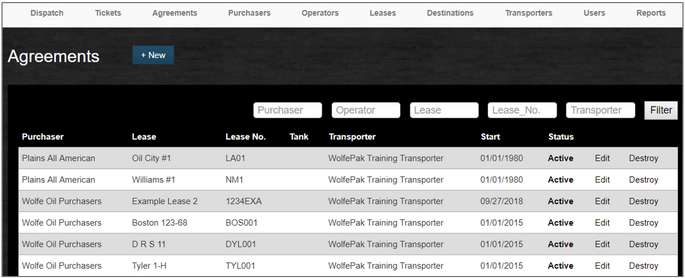
Agreements are the function that connects the Purchaser, the Lease, the Transporter, and the Destinations together. An Agreement must be created in order to use a new Lease for Dispatching purposes.
|
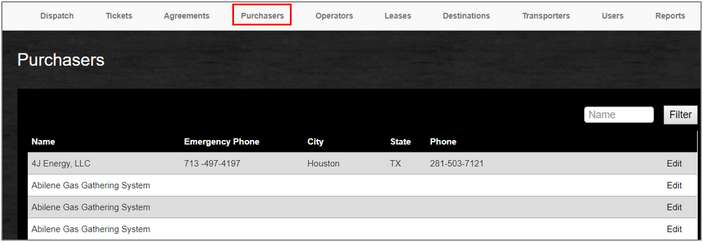
Purchasers can only be added by a Tech user, not a Transport Manager. They require a Logo, Emergency Phone Number, and Company Contact information to be used. Purchasers are required to create an Agreement. To add a new Purchaser, contact your Customer Success Team.
|
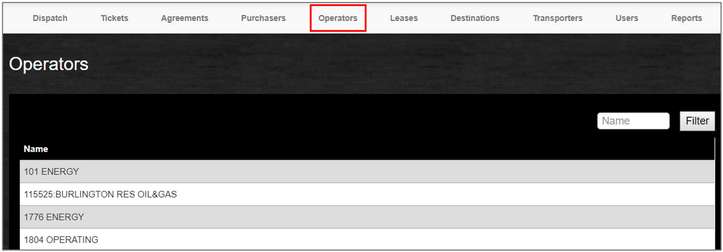
Operators can only be added by a Tech user, not a Transport Manager. Operators are required to add a new Lease into the Web Portal. To add a new Operator, contact your Customer Success Team.
|
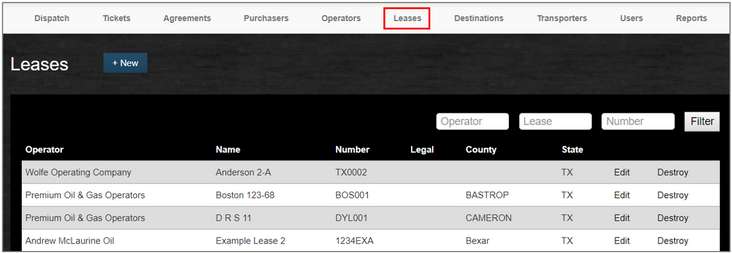
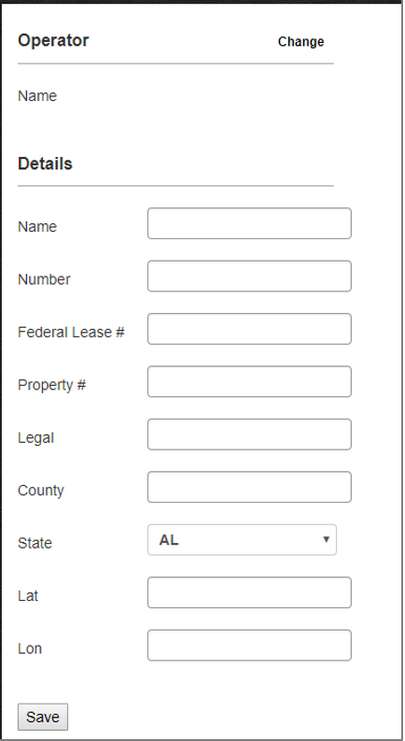
Create a Lease
|
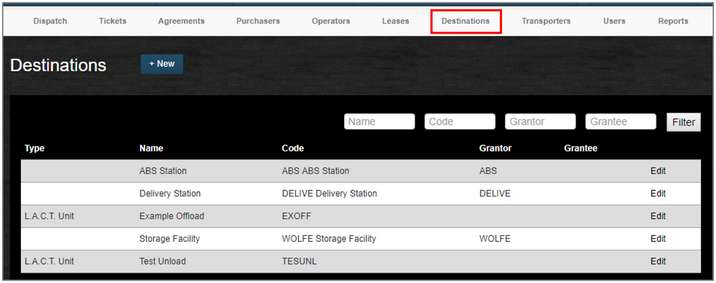
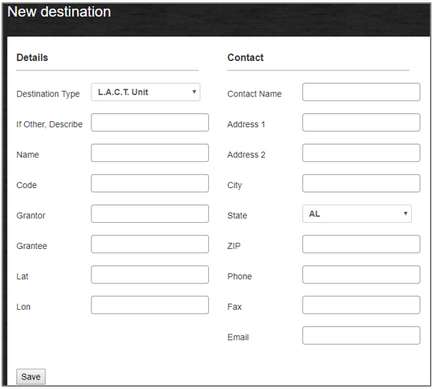
Destinations are the unload locations for each ticket. These could be LACT Units, Pipelines, Railroad sites, etc. Destination setup requires a Destination Name and Destination Code. A new Destination must be added under the Transporter, and Purchaser in order to be ready for Dispatch.
Create a Destination
|
Transporters tab will provide all details about the current company. Truck numbers, Trailer numbers, Destinations, and Custom Report Distributions are all setup within the Transporters tab.
•To add anything new, Click Edit on the Transporter that needs editing and scroll to the bottom. Select the tab you want to add information too. •You can search for and change your Truck number, Trailer number or Destination Name. Change the field that needs editing for the Transporter by choosing the new information and Save. |
Users tab stores all users setup for that Transporter. User access details can be edited or restricted by a Tech user’s access to limit their access to web portal features.
Create a User
|
Reports tab is where the user can create reports to pull data that lives in their Web Portal in csv or PDF ticket form.
|
WolfePak Mobile Midstream ties together properties by “Agreements”. These correlate the lease and tank with the correct operator and purchaser, along with several other fields. Being that data accuracy is the primary goal for electronic ticketing, Wolfepak Mobile Midstream prepopulates as much existing data for a run ticket as possible, from the synced master files pushed over from ERP. When a dispatcher is selecting a property to dispatch a truck too, they start by clicking the “Create New Dispatch” button from the upper left corner of the main dispatch page in the Mobile Midstream Web Portal. Next, the dispatcher will select the Agreement for the transaction he is assigning to a truck, which will populate things like: Lease Name/Number/Legal, Operator info, Purchaser info and more. With the Agreement chosen, the dispatcher can enter other relevant items such as: Transporter Order Number, Confirmation Code, Purchaser Ticket Number, Tank Number and more. This is where you assign the delivery destination to a dispatch if known as well as selecting the driver, truck, and trailer that will haul this load. The dispatcher can enter how many loads are available for this particular agreement, if more than one load called. The final step is to save the dispatch. At that point, the software will take over and delivery the ticket details to the driver in the field via cellular connection for the driver to complete while hauling that assigned load of work.
|
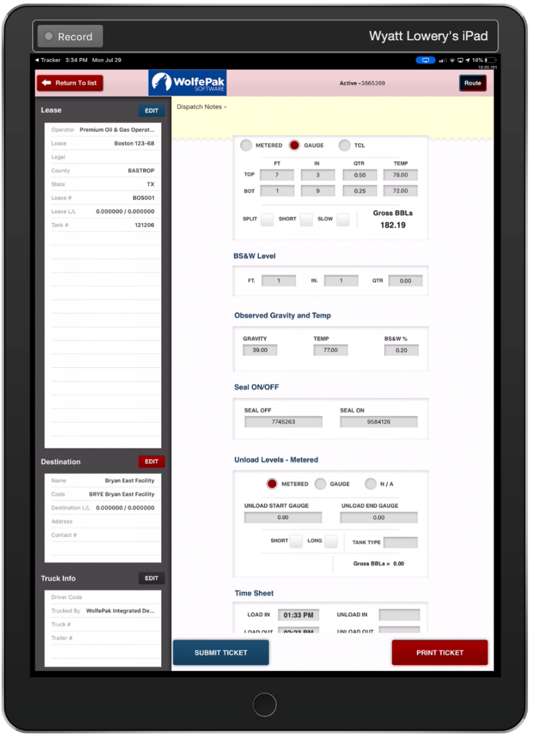
Drivers in the field have tablets with the WolfePak Mobile Midstream app to capture the few data fields not already pre-populated on the ticket.
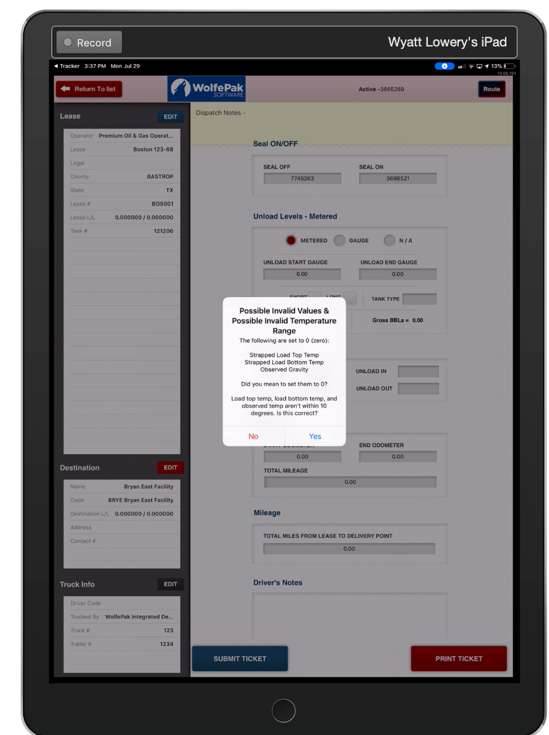
The driver must fill in the remaining fields needed to complete each load, including: UN product codes, tank gauges, seals, BS&W measurement, gravity and temperatures. The Mobile Midstream app runs a series of checks on every ticket during the print process to ensure no forgotten required fields or values entered out of range.
The driver will print a copy of the run ticket at the well and leave a copy for the operator. The driver usually also prints a copy to use as the Bill of Lading while in transit between pickup and delivery locations. When offloading to the delivery point is complete, the driver/user will enter required ticket data and print a final record of their ticket to leave at the station. The step is to submit the ticket from the app. Once that run ticket successfully submits, the system marks that dispatch blue and labels it “Completed” and the driver will move onto next dispatch. Submitted tickets will sync through the cellular data network, back to the Mobile Midstream Web Portal where that dispatched ticket will update and reflect completion. Completed tickets are available for review and correction at this point if necessary. An administrator can download a .PDF of that ticket at this point to save/use/share as needed. |
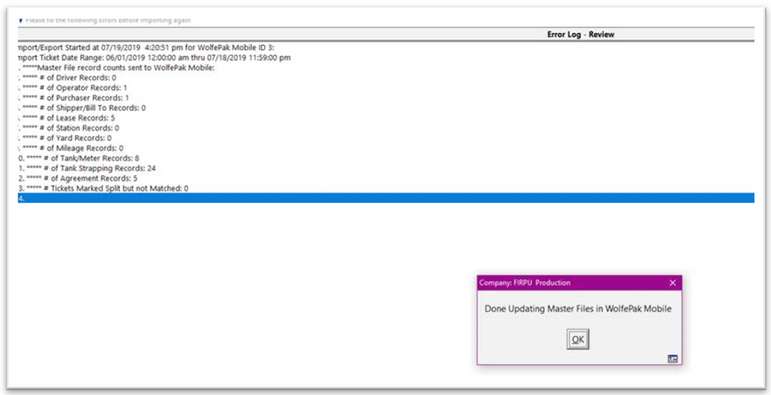
Once tickets are competed in the field, and updated in the Mobile Midstream Web Portal, they are now ready and available to send to ERP for review and processing. In the First Purchaser Module, you will select Utilities > Mobile Midstream Integration. You need to set the time frame for which you want to pull tickets over from Mobile by selecting a starting and ending date. Click the sync button to initiate a data sync between the two tools. A summary screen will appear showing the results of the sync including counts of each record transmitted back and forth during the sync.
|

